Solarfam
2 x SolarFam Monocrystalline 200Wp (400Wp)
2 x SolarFam Monocrystalline 200Wp (400Wp)
Couldn't load pickup availability
This bundle consists of 2 × SolarFam Monocrystalline 200Wp solar panels, totaling 400Wp solar power. With two 200Wp panels, you can build a serious solar panel set for RVs, campervans, boats, and other off-grid applications.
The panels use standard monocrystalline solar cells with an efficiency of 22%. With dimensions of 1530 × 670 × 30 mm per panel, you get relatively high power per panel, while the set often remains suitable for larger RV roofs.
Why this 400Wp bundle? ▾
- 400Wp total power: composed of 2 identical SolarFam 200Wp solar panels.
- Monocrystalline cells: suitable for high yield in limited space.
- High efficiency of 22%: efficient panel for RVs, boats, and off-grid systems.
- Bundle discount: more affordable than purchasing the same panels individually.
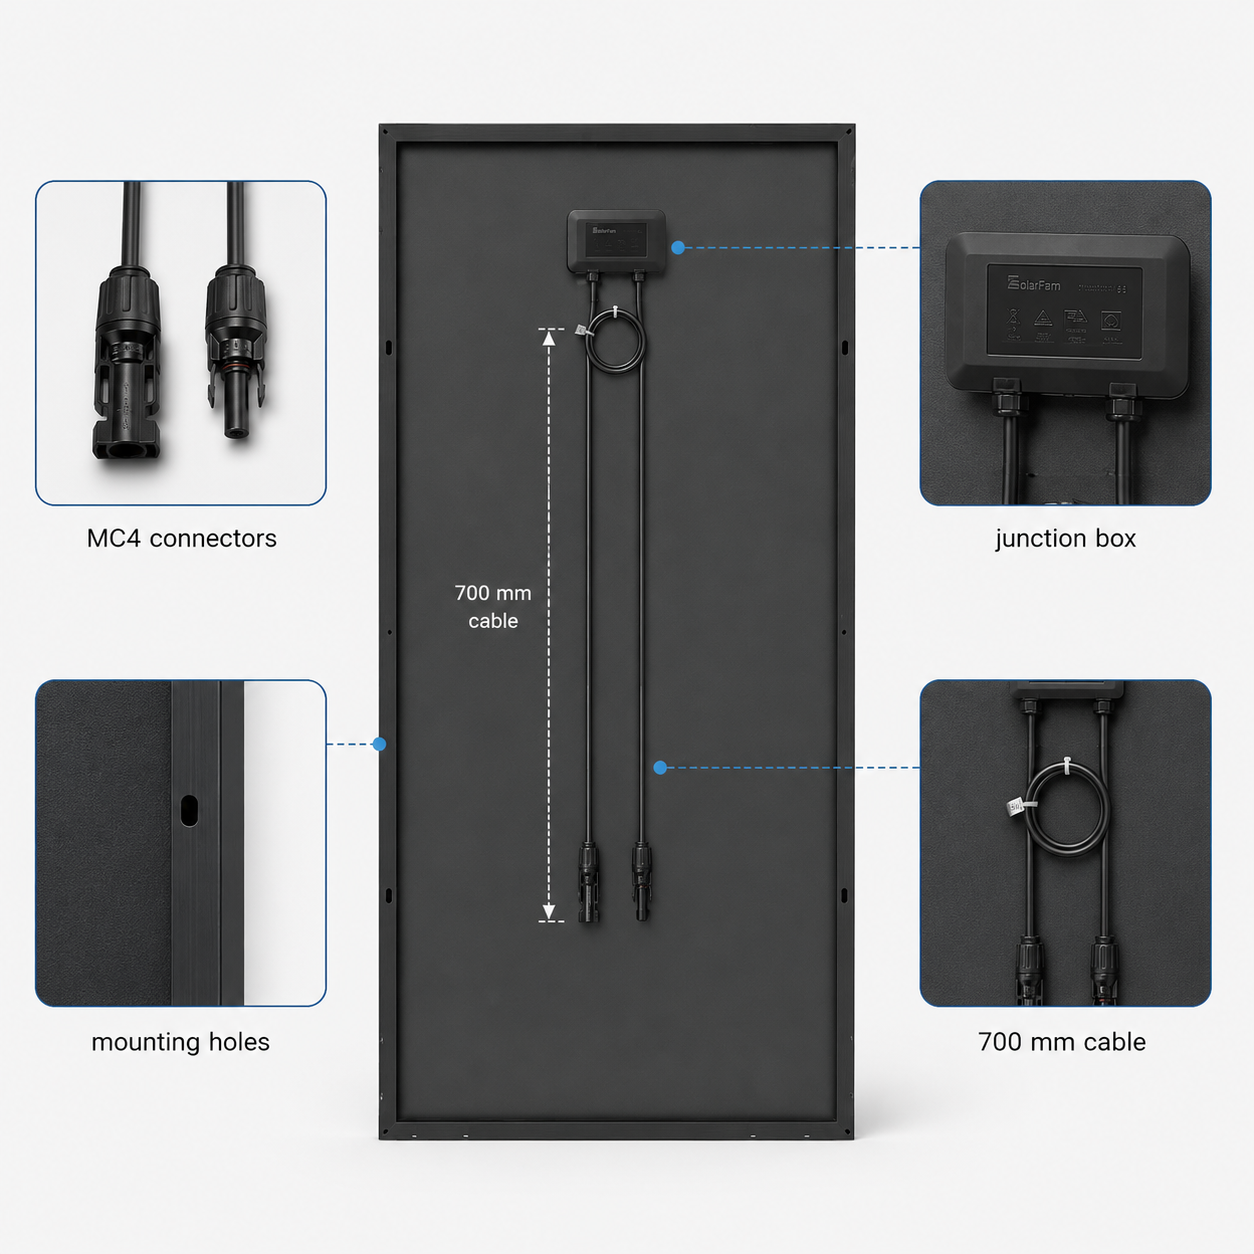
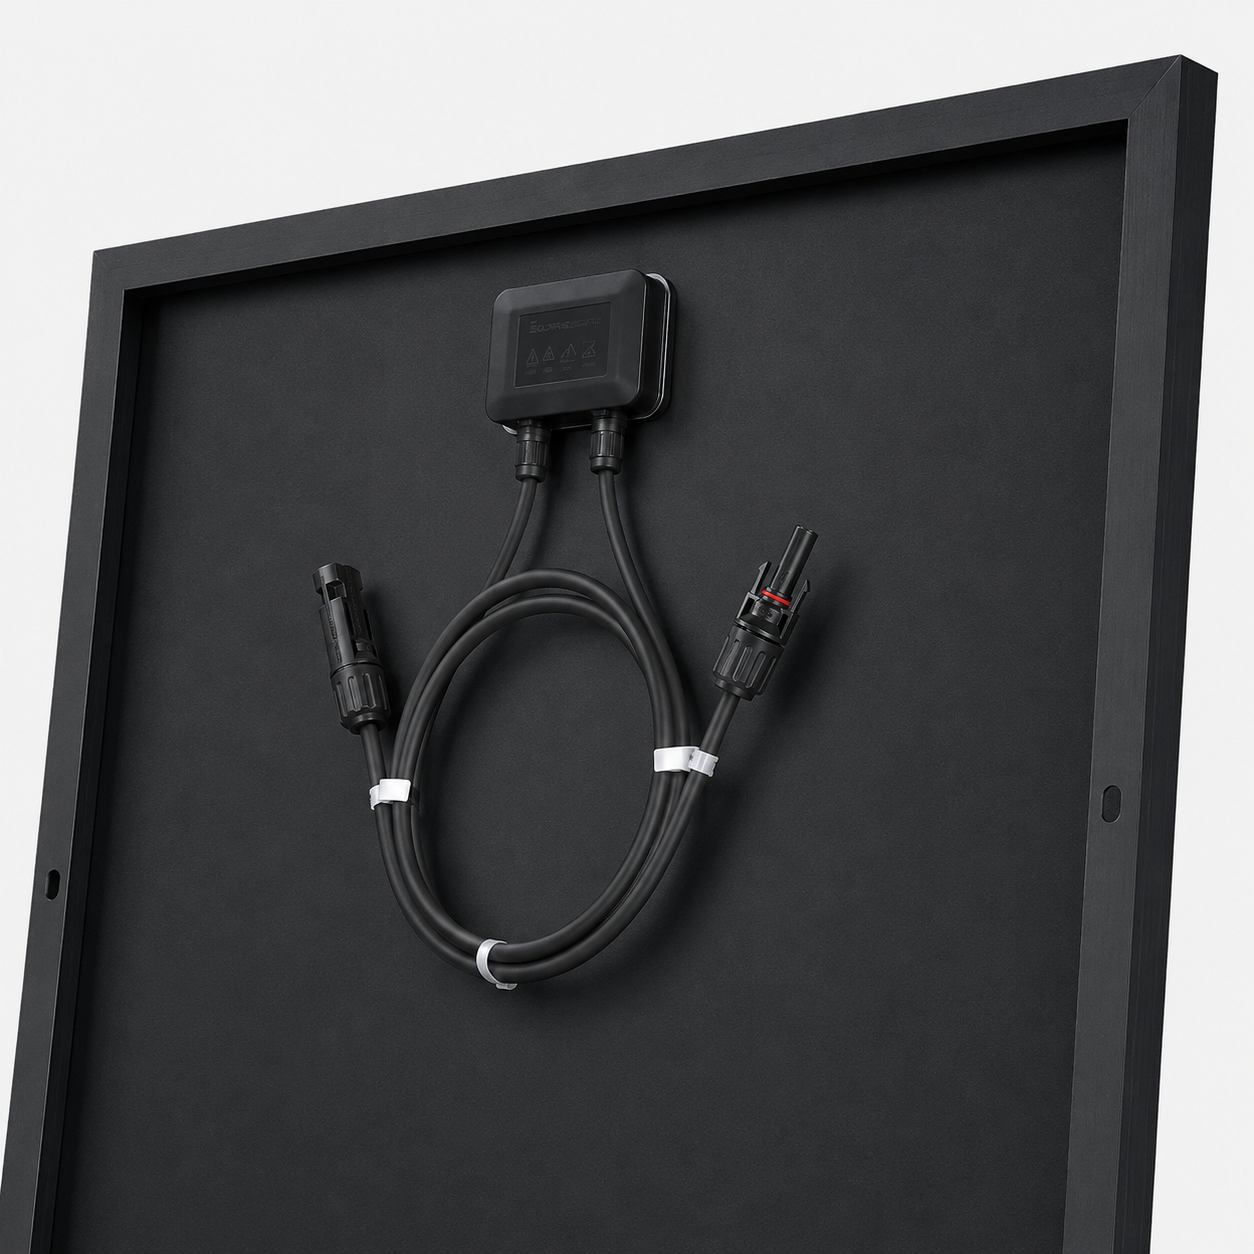
- MC4-compatible connections: easy to combine with standard solar cables, MC4 splitters, and MPPT charge controllers.
- Suitable for 12V and 24V systems: for 24V, the panels are connected in series.
Specifications & dimensions ▾
400 Wp
2 × SolarFam Monocrystalline 200Wp
200 Wp
SZ-200
Monocrystalline
22%
8.21 A
24.36 V
28.56 V
8.71 A
500 V
0 to +3%
700 mm / 2.5 mm²
MC4 / MC4 compatible
Aluminum frame / glass / EVA / backsheet
IP67
1530 × 670 × 30 mm
10.2 kg net
approx. 20.4 kg net, excluding mounting material
-40°C to +80°C
5 years
Always carefully measure your RV roof before ordering. Consider roof hatches, fans, rails, shade sources, the location of the cable entry, and the space required for mounting materials.
Series or parallel connection? ▾
Two solar panels can be connected in series or parallel. The best choice depends on the panels' position on the roof, the likelihood of shade, and whether you have a 12V or 24V battery system.
Usually in series with equal light conditions
Are the two panels side-by-side and almost always receiving the same sun? Then series connection is usually the most logical choice. You connect the positive cable of panel 1 to the negative cable of panel 2. The two remaining cables go indoors via one solar cable set, towards the MPPT charge controller.
- Advantage: higher voltage to the MPPT.
- Lower current through the solar cables than with parallel connection.
- You usually only need 1 solar cable set for the cables going indoors.
- For a 24V battery system, series connection is normally the correct choice, as a single panel provides insufficient voltage margin for a normal MPPT.
Parallel with risk of unequal shade
Do you expect one panel to be regularly shaded while the other panel is still in full sun? Then parallel connection might be better. This is more common when the panels are not directly next to each other or when roof hatches, fans, rails, or other accessories can cast shade.
- For parallel connection, you connect the positive cables of both panels to each other and the negative cables of both panels to each other.
- For this, you use MC4 parallel connectors 2-in-1.
- Parallel connection is particularly logical for 12V systems and unequal shade.
- With parallel connection, more current flows through the solar cables. Therefore, consider cable diameter and cable length.
Which charge controller suits 2 × 200Wp? ▾
For this bundle, with a 12V battery system, we recommend the Victron SmartSolar MPPT 100/30. This controller is well-suited for 400Wp solar power at 12V and provides sufficient charging current for this set.
If you use a 24V battery system and connect the two panels in series, you can often use the Victron SmartSolar MPPT 100/20. At 24V, the charging current is lower than at 12V, making the 20A variant suitable here.
- Recommended for 12V: Victron SmartSolar MPPT 100/30.
- Recommended for 24V: Victron SmartSolar MPPT 100/20, with the panels in series.
- Bluetooth app: convenient for viewing charge status, yield, and settings via your phone.
- Suitable for multiple battery types: e.g., AGM, gel, lead-acid, or LiFePO4.
Connecting MPPT to battery ▾
With 400Wp of solar power, the battery side of the charge controller must be properly implemented. The correct cable diameter and fuse depend on the chosen MPPT, the system voltage, and the cable length between the MPPT and the battery.
- For a 12V system with the Victron SmartSolar MPPT 100/30, we recommend 10mm² battery cable between the MPPT and the battery.
- For a 24V system with the Victron SmartSolar MPPT 100/20, you can use the 6mm² battery cable set, 2 × 1m with 25A fuse.
- For the 12V version, use a 40A MIDI fuse and place it as close as possible to the positive terminal of the battery or positive distributor.
- Use a suitable MIDI fuse holder.
- Use suitable crimp terminals for the fuse holder, MPPT, and battery connection.
Other SolarFam 200Wp bundles ▾
Do you want less or more solar power? This SolarFam 200Wp panel is available as a single panel and as a bundle with multiple panels. When purchasing multiple panels at once, a bundle discount applies.
What is this bundle suitable for? ▾
This 400Wp bundle is suitable for RVs and campervans where you want significantly more charging capacity than with a single panel. For many RV installations, 400Wp is a strong foundation.
- RVs with compressor refrigerators, LED lighting, water pumps, fans, and phone chargers.
- Regular laptop use and use of appliances via an inverter such as a coffee maker or kettle.
- Charging a 12V battery bank via a suitable 30A MPPT charge controller.
- Charging a 24V battery bank when the two panels are connected in series.
- Suitable as part of a complete off-grid system with battery, MPPT, alternator charger, and/or shore power charger.
Mounting on RV roof ▾
Each panel is 670 mm wide. For mounting on a flat RV roof, you can use the black 68 cm spoilers. For campervans, we usually recommend aluminum Z-profiles, set of 6 pieces per panel. These are often easier to install on a roof with ribs, curvature, or limited flat mounting surfaces.
- Flat roofs: plastic spoilers are especially suitable for flat roofs, such as on (semi)integrated RVs or behind the overcab of an alcove RV.
- Panel in longitudinal direction: if you can place the panel along the length of the roof, spoilers at the front and back are often a neat and aerodynamic solution.
- Campervans: for roofs with ribs or a slight curve, aluminum Z-profiles are usually more practical than long plastic spoilers.
- Degrease the roof thoroughly and follow the instructions for the adhesive, sealant, and primer used.
- Use a suitable roof entry for the solar cables.
- Secure cables on the roof firmly with UV-resistant adhesive mounts and cable ties.
- Prevent cables from chafing, kinking, or moving freely while driving.
What else do you usually need? ▾
- Spoilers black 68 cm for flat roofs, or aluminum Z-profiles set of 6 pieces per panel for campervans and roofs with ribs/curves
- Roof entry for solar cables
- Solar cable set 4mm² indoors
- Victron SmartSolar MPPT 100/30 for a 12V battery system
- Victron SmartSolar MPPT 100/20 for a 24V battery system with the panels in series
- MC4 parallel connectors 2-in-1, only needed when you want to connect the panels in parallel
- Battery cables, fuse holder, fuse, and terminals suitable for the chosen MPPT and cable length
Want to assemble a complete set? Send us a photo of your roof and your current electrical system, and we'll help you with practical advice.
Common mistakes ▾
- Connecting solar panels directly to a battery without an MPPT charge controller.
- For a 24V battery system, connecting two panels in parallel with a normal MPPT, which can result in too low a panel voltage for proper charging.
- Connecting two panels in series when one panel regularly receives shade and the other does not.
- Parallel connection without the correct MC4 parallel connectors and without accounting for extra current through the cables.
- Using a too small or unsuitable charge controller for 400Wp solar power.
- Using too light a battery cable between the MPPT and the battery.
- Not placing a fuse close to the battery on the positive side of the MPPT connection.
- Combining panels with different voltages or powers without checking the specifications.
- Leaving cables loose on the roof, with the risk of chafing, leakage, or cable breakage.
- Insufficiently sealing the roof entry or using the wrong sealant/primer for the roof material.
FAQ ▾
Which MPPT charge controller do you recommend for 2 × 200Wp?
For a 12V battery system, we recommend the Victron SmartSolar MPPT 100/30. For a 24V battery system, you can usually use the Victron SmartSolar MPPT 100/20, provided the two panels are connected in series.
Should I connect the two panels in series or parallel?
Are the panels side-by-side and receiving almost the same sun? Then series is usually logical. Do you expect regular shade on one panel while the other panel gets sun? Then parallel might be better. For 24V, series connection is normally used.
Can this kit charge a 24V battery?
Yes, if you connect the two panels in series and use a suitable MPPT charge controller. Two panels in parallel usually provide too little voltage margin for reliable charging of a 24V battery with a standard MPPT.
Which mounting brackets or spoilers are suitable for these panels?
Since the panels are 670 mm wide, the 68 cm black spoilers are a good fit for mounting on a flat roof. For camper vans, we usually recommend the set of 6 aluminium Z-profiles per panel, as they are easier to install on roofs with ridges, curves, or limited flat mounting surfaces.
Is 400Wp enough for my camper van?
That depends on your consumption and travel habits. For many camper van installations, 400Wp is a strong foundation. For larger consumers, winter use, or several days of off-grid camping, battery capacity, alternator charger, and shore power charger also remain important.
Why two 200Wp panels instead of one large 400Wp panel?
One large solar panel is often cheaper per watt, but on a camper van roof, this is not always the best choice. With two smaller panels, you have more flexibility in the layout of your roof, for example, around roof hatches, fans, or rails. Additionally, smaller panels, due to their shorter and narrower frames, are often stiffer than large residential panels and are therefore less vulnerable in practice on vehicles.
Deel