Solarfam
2 x SolarFam Mono Black 100Wp (200Wp)
2 x SolarFam Mono Black 100Wp (200Wp)
Couldn't load pickup availability
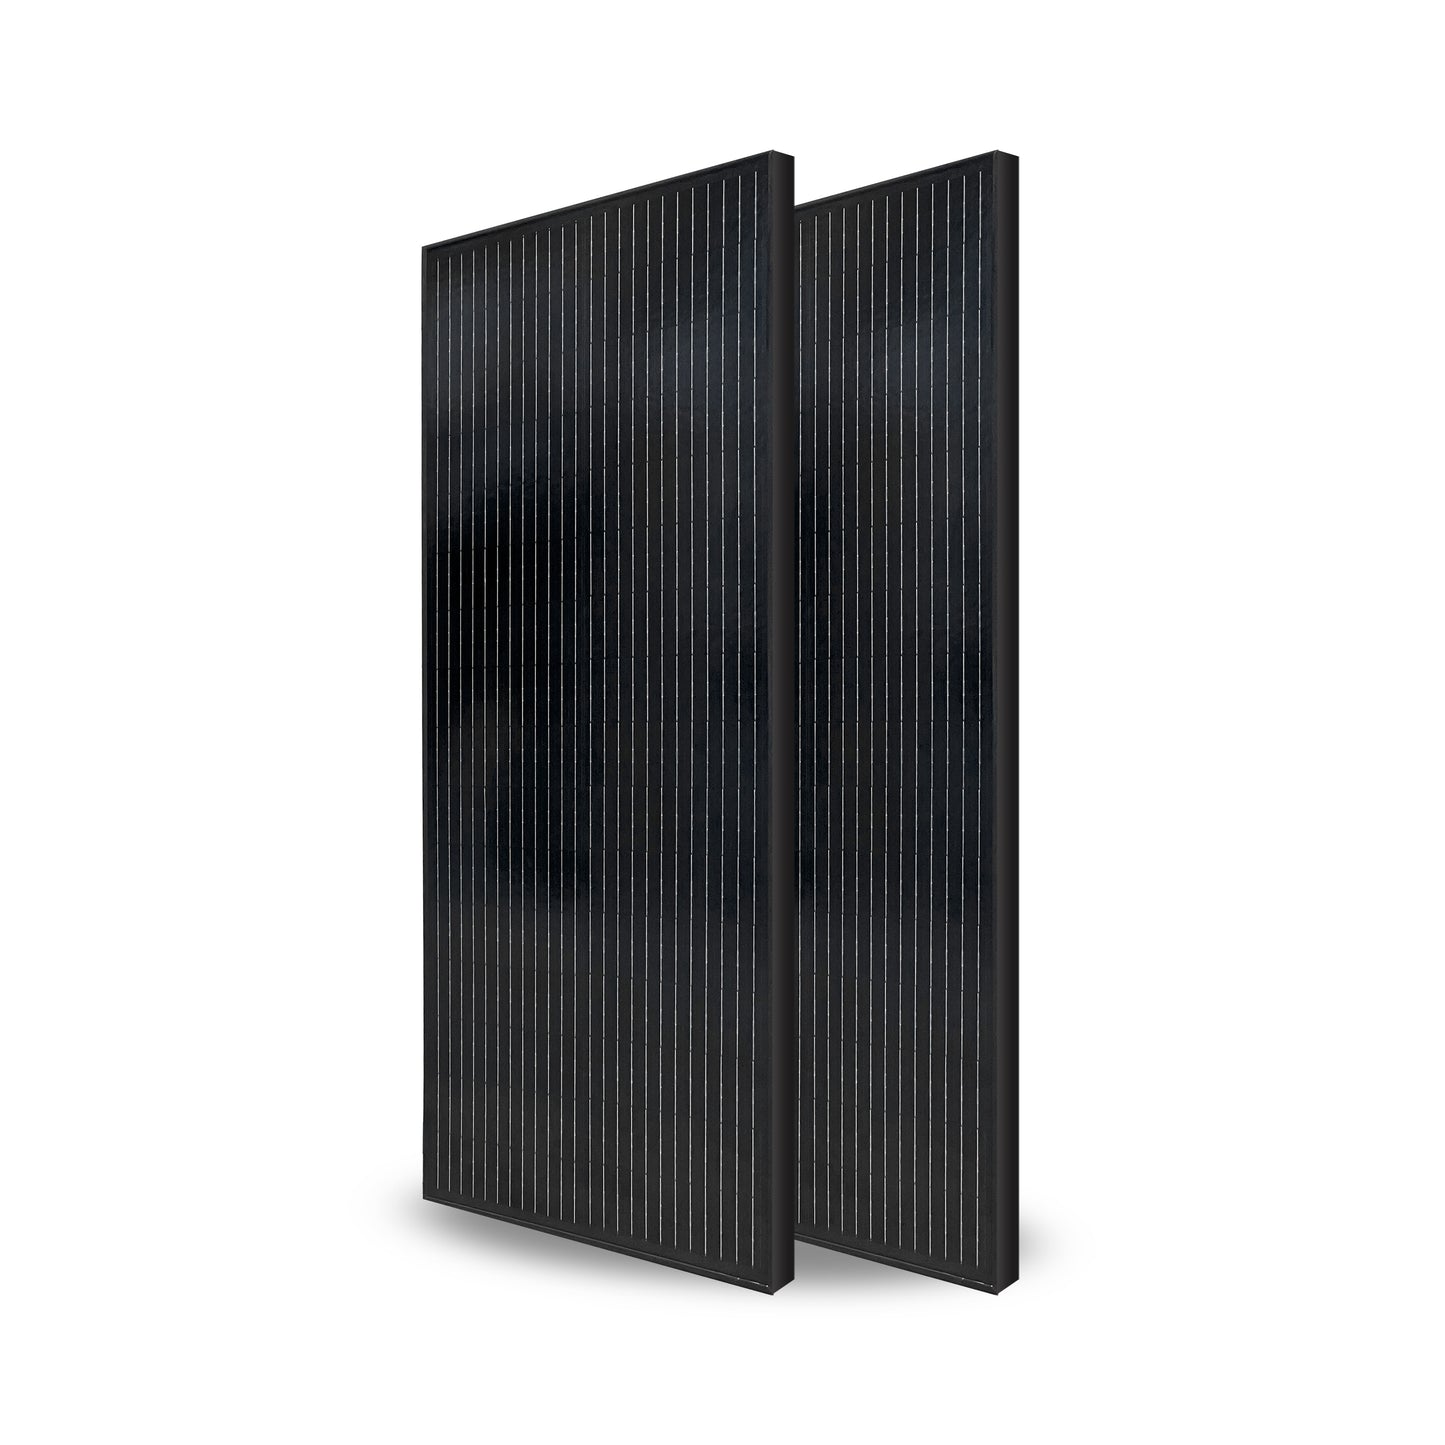
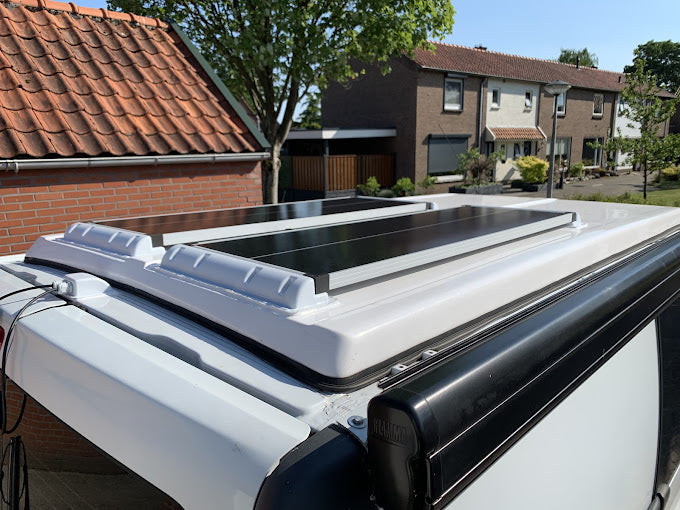
This bundle consists of 2 × SolarFam Mono 100Wp Black solar panels, together providing 200Wp of solar power. Due to the narrow size of each panel, they can often be flexibly placed on a camper roof, for example, to the left and right of a roof hatch, fan, or roof rail.
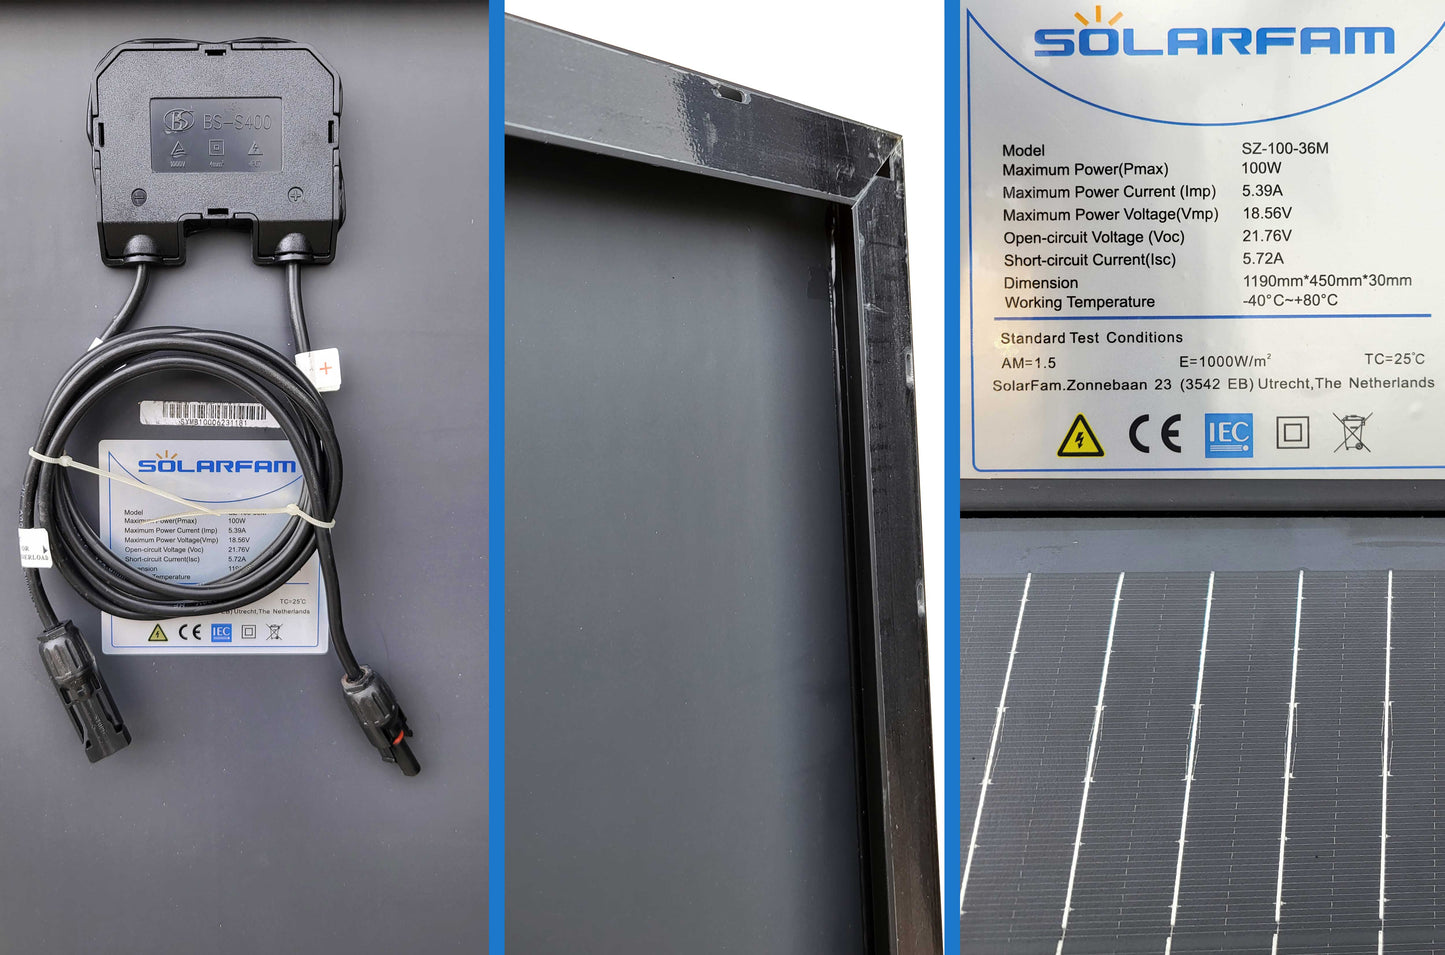
The panels feature a black aluminum frame, tempered glass, MC4 connection cables, and an IP67 junction box. This makes the bundle suitable for a neat, fixed solar panel installation on a camper roof.
Why this 200Wp SolarFam bundle? ▾
- 200Wp total power: composed of 2 identical SolarFam Mono 100Wp Black solar panels.
- Narrow panel size: 1190 × 450 mm, useful for camper roofs with limited or fragmented roof space.
- Bundle discount: more affordable than purchasing the same panels separately.
- Black design: black frame and dark cell structure for a sleek look on the roof.
- MC4 connection: standard solar panel connectors, easy to combine with solar cables and MPPT controllers.
- IP67 junction box: suitable for outdoor use on camper roofs, provided it is correctly mounted and connected.
Specifications & dimensions ▾
200 Wp
2 × SolarFam Mono 100Wp Black
100 Wp
SZ-100-M
≥ 22%
18.56 V
5.39 A
21.76 V
5.72 A
0 to +3%
500 V
700 mm / 2.5 mm² with MC4 connectors
IP67
Aluminum frame / glass / EVA / backsheet
1190 × 450 × 30 mm
5.8 kg net
approx. 11.6 kg net, excluding mounting material
-40°C to +80°C
Tip: always measure your camper roof carefully beforehand. Take into account roof hatches, fans, roof rails, shadows from accessories, and the location of the cable entry. Also, consider the space required for mounting materials. Roof brackets or spoilers often extend slightly beyond the panel, and the required space depends on the chosen mounting method.
Series or parallel connection? ▾
You can connect two solar panels in series or parallel. Which option is best mainly depends on the position of the panels on the roof and the likelihood of shading.
Usually in series for panels next to each other
If the two panels are directly next to each other and almost always receive the same light conditions, series connection is usually the most logical choice. You then connect the positive cable of panel 1 to the negative cable of panel 2. The two remaining cables go indoors via one solar cable set, towards the MPPT charge controller.
- Advantage: higher voltage towards the MPPT.
- You still only need 1 solar cable set for the cables indoors.
- Suitable when both panels receive almost the same sun.
Parallel for risk of unequal shading
Do you expect one panel to be regularly in the shade while the other panel is still fully in the sun? Then parallel connection might be better. This is more common when panels are not directly next to each other or when roof hatches, fans, rails, or other accessories can cast shadows.
- For parallel connection, you connect the positive cables of both panels to each other and the negative cables of both panels to each other.
- For this, you use MC4 parallel connectors 2-in-1.
- If the panels are further apart, additional solar cable on the roof is often needed.
Which charge controller and battery cable set do you need? ▾
For this bundle of 2 × 100Wp, we usually recommend the Victron SmartSolar MPPT 75/15 for a 12V battery installation. This MPPT charge controller is well-suited for 200Wp solar power in a compact camper installation.
- Recommended MPPT: Victron SmartSolar MPPT 75/15.
- Connection to the battery: use the battery cable set 6mm² 2 × 1m with 25A fuse.
- Panel cable indoors: in series, you usually need one solar cable set from the roof to the MPPT.
- For parallel: in addition to the solar cable set, also use MC4 parallel connectors 2-in-1.
Are you using a 24V battery installation?
Then you can use this bundle by connecting the two panels in series. A single 100Wp panel does not have enough voltage to properly charge a 24V battery, but two panels in series together provide a higher panel voltage. For a compact 24V installation, the Victron SmartSolar MPPT 75/10 is sufficient.
Other SolarFam 100Wp bundles ▾
Do you want less or more solar power? This SolarFam 100Wp panel is available as a single panel and as a bundle with multiple panels. When purchasing multiple panels simultaneously, a bundle discount applies.
What is this bundle suitable for? ▾
This 200Wp bundle is suitable for fixed mounting on campers and van conversions where you want to build up more solar power with two narrow glass panels.
- With 200Wp, you have significantly more charging power than with a single 100Wp panel.
- A good foundation for campers with a compressor refrigerator, LED lighting, water pump, phone chargers, and limited laptop use.
- Charging a 12V battery bank via a suitable MPPT charge controller.
- Expansion of an existing camper installation with additional solar power.
- Flexible roof layout with two narrow panels instead of one wider panel.
- Suitable as part of a complete off-grid system with battery, MPPT, alternator charger, and/or shore power charger.
Mounting on a camper roof ▾
These panels are usually mounted with aluminum roof brackets or spoilers. Ensure strong mechanical mounting, good sealing, and a neat cable routing indoors.
- Van conversion: preferably use aluminum Z-profiles on a ribbed or slightly curved metal roof.
- Flat camper roof: use Solara spoilers of 45 cm. Preferably place the panels lengthwise, with the short sides facing forward and backward, so that the spoilers guide the airflow over the panels.
- Boat: use plastic corner brackets on a suitable flat deck.
- Thoroughly degrease the roof and follow the instructions for the adhesive, sealant, and primer used.
- Use a suitable roof entry for the solar cables.
- Secure cables on the roof firmly with UV-resistant adhesive bases and zip ties.
- Prevent cables from chafing, kinking, or moving loosely while driving.
What else do you usually need? ▾
- Mounting: aluminum Z-profiles for a van conversion, Solara spoilers of 45 cm for a flat camper roof or plastic corner brackets for a boat
- Roof entry for solar cables
- Solar cable set 4mm² indoors
- Victron SmartSolar MPPT 75/15
- Battery cable set 6mm² 2 × 1m with 25A fuse
- MC4 parallel connectors 2-in-1, only needed if you want to connect the panels in parallel
- Possibly extra custom solar cable if the panels are further apart.
Do you want to put together a complete set? Send us a photo of your roof and your current electrical setup, and we'll help you think practical solutions.
Common mistakes ▾
- Connecting solar panels directly to a battery without a charge controller.
- Connecting two panels in series when one panel regularly gets shade and the other doesn't.
- Parallel connection without the correct MC4 parallel connectors and without considering extra current through the cables.
- Using an undersized or unsuitable MPPT for 200Wp solar power.
- Combining panels with different voltages or powers without checking the specifications.
- Using cables that are too thin for longer cable lengths, causing unnecessary voltage drop.
- Not installing a fuse or DC protection on the battery side of the charge controller.
- Leaving cables loose on the roof, risking chafing, leakage, or cable breakage.
- Insufficiently sealing the roof entry or using incorrect sealant/primer for the roof material.
FAQ ▾
Should I connect two 100Wp panels in series or parallel?
If the panels are directly next to each other and almost always receive the same sun, series connection is usually logical. If you expect regular shade on one of the two panels, parallel connection might be better.
Why multiple smaller panels instead of one large solar panel?
One large solar panel is often cheaper per watt, but on a camper roof, this is not always the best choice. With multiple smaller panels, you are more flexible in arranging your roof, for example, around roof hatches, fans, or rails. Additionally, smaller panels are often stiffer and therefore less fragile in practice than large home panels. Our experience, and that of several camper builders, is that smaller solar panels on campers often last longer and pose less risk when mounted on a vehicle.
Do I need extra connectors for series connection?
No, usually not. You connect the positive of one panel to the negative of the other panel. The two remaining cables go inside via one solar cable set.
What do I need for parallel connection?
For parallel connection, you use MC4 parallel connectors 2-in-1. If the panels are further apart, custom solar cable may be needed.
Which MPPT charge controller do you recommend?
For this bundle, we usually recommend the Victron SmartSolar MPPT 75/15.
Which battery cable set fits this MPPT?
For connecting the MPPT to the battery, we recommend the battery cable set 6mm² 2 × 1m with 25A fuse.
Is 200Wp enough for my camper van?
That depends on your consumption and travel habits. 200Wp is often a good basis for normal camper van use, but with high consumption, winter use, or several days off-grid, battery capacity and charging via alternator or shore power also remain important.
Which mounting is suitable for my vehicle or boat?
For a panel van camper, we usually recommend aluminum Z-profiles. On a flat camper roof, 45 cm Solara spoilers fit; preferably place the panels lengthwise with the short sides facing forward and backward. For mounting on a suitable flat boat deck, plastic corner brackets are a practical choice.
Deel